

So I wanted to make a count down to Christmas, they are so cute and I love counting down the days, but all of the ones I have seen you either have to buy or sew, and I didn't want to do either. So I came up with an idea, why not make a chalkboard countdown to Christmas? Then I could easily just erase and chalk in the dates, easy peasy! So here is my tutorial on how to make this!

First, buy an unfinished wood frame. I bought this one for like three dollars at Hobby Lobby, the picture size is 5'7.
Next you want to paint the edges, the back of the frame and the inside. You can even stain it instead, but I wanted red.


While I was waiting for my paint to dry I worked on my chalkboard.
First you buy chalkboard paint, which I found at Home Depot, I think they have it in spray on as well, but I thought I would be using it a lot so I bought a bucket.

Next just put the paint right on the glass of the frame and paint. Now for some reason the frame I bought didnt come with glass, but that was ok, the back part that holds the picture in was made of like a flimsy wood or something so I just painted that, it worked just as well as the glass, actually better cause it went on smoother and I didn't have to do as many coats to cover up the glass. I did two coats of the chalkboard paint on the wood piece. It dries really fast.

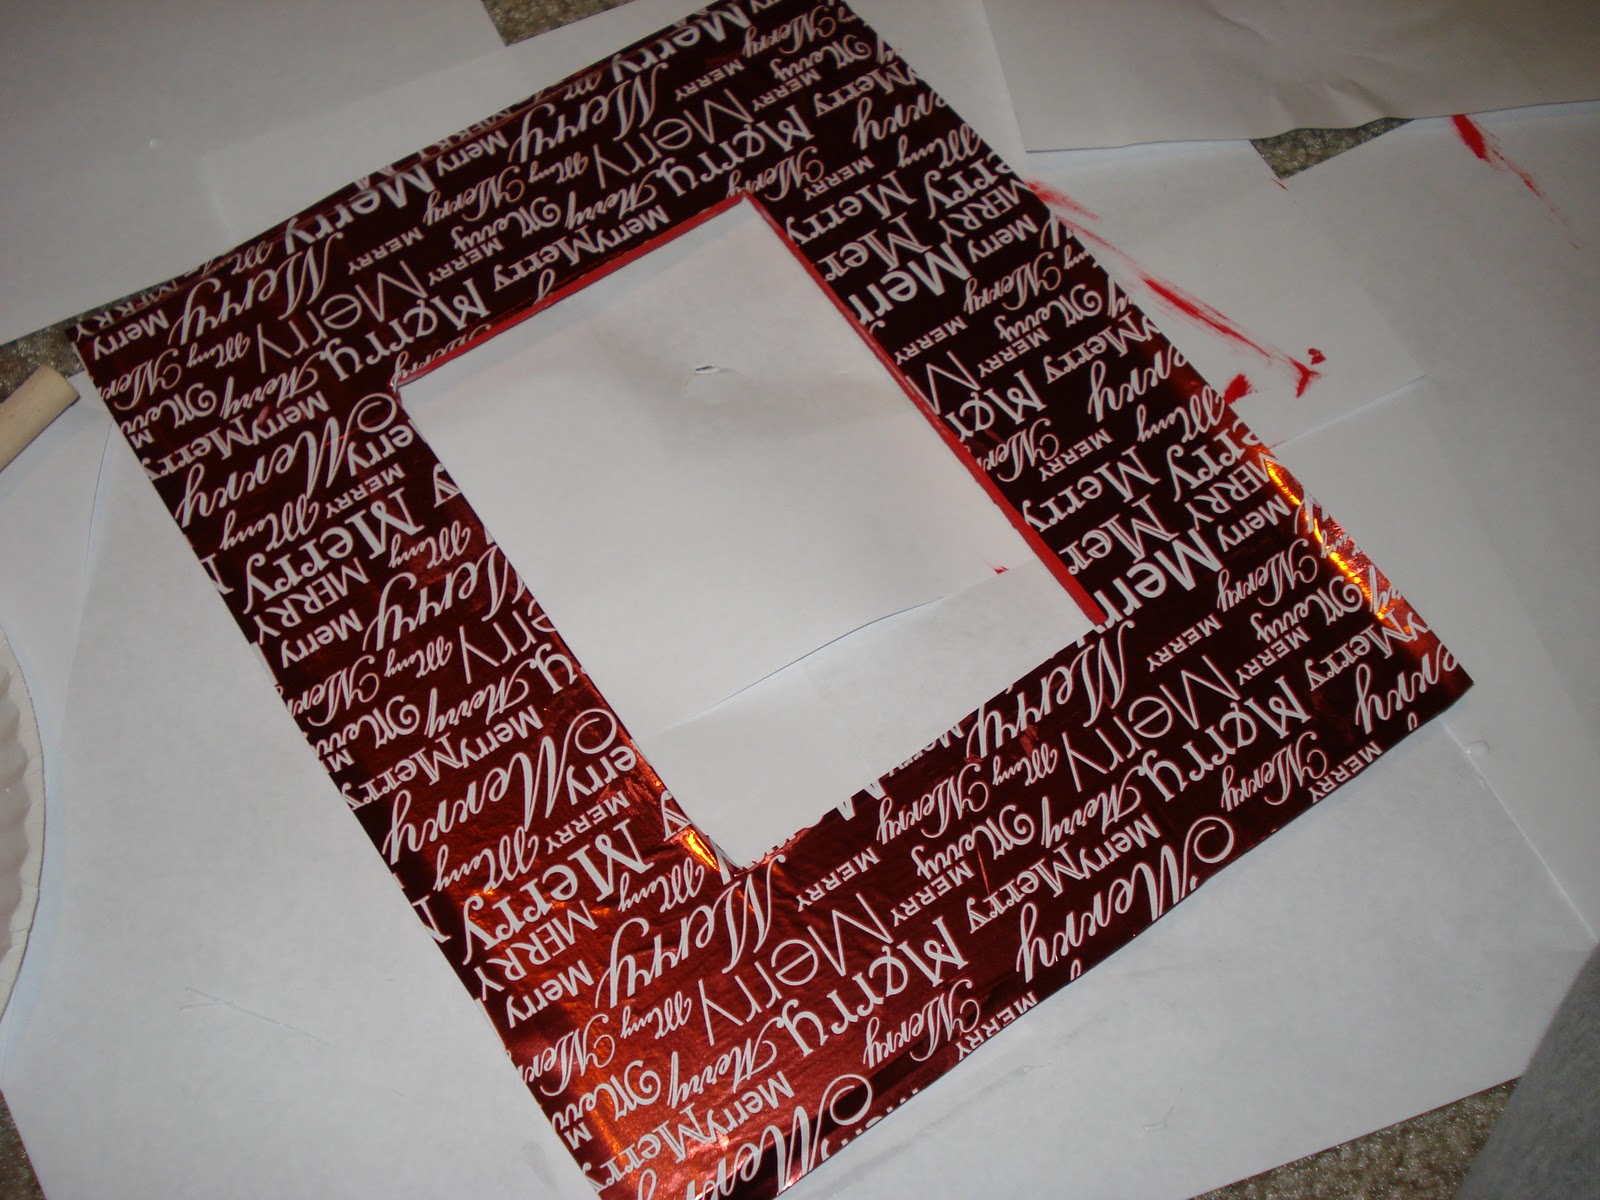
Once your frame is dry you want to get your paper that you are gluing onto the frame. I used Christmas wrapping paper, but you could just use Christmas cardstock or something. I liked the wrapping paper cause it was shiny though. So you want to trace the outside and inside of the frame on the wrapping paper and then cut it out. Next grab your mod podge....

(this is mod podge, its like a glue that is awesome, you can put it right over pictures and stuff, its the best.)
So you get your mod podge and then paint it over your wood frame and then lay your paper/wrapping paper down on the frame and smooth it out. I did it in sections, it was easier that way I thought.
It should look something like this. After it was all on there I let it dry for a sec and then put in my now dry chalkboard piece. Before you write anything on the chalkboard you should go all over it with a piece of chalk. Then wipe it off with a damp cloth and write whatever you want with it.
Isn't it so cute?!
You don't have to do this as a Christmas thing either.
You can just get some cute cardstock, mod podge it on there and put in a cute picture that can stay up all year long. Its super easy and you can use this idea for a lot of things.
But here is the finished project in my kitchen!

Sorry about the glare, stupid camera.


7 comments:
That's way cute Vanessa!! I have to make one. Thanks for sharing.
How precious! It's a christmas miracle!
Ness that's SO cute!! :)
How cute and easy.
Great tutorial! I love it! Thanks you so much for linking it up today!!!
Such a cute idea!!
Turned out so cute! Come link up!
http://gigglesglitzandglam.blogspot.com/2010/12/glam-party-8.html
Post a Comment