
Look what I made...


Lovely 'Be Mine' Boxes
I am in love with these.
I got the idea at Craft-O-Maniac
I got the idea at Craft-O-Maniac
I bought these boxes at the dollar store

They were kind of by the gift bags and stuff like that. The small tan one was inside the larger red one, so I got six of these babies for three bucks! SCORE.
They were okay lookin, but not the prettiest, so I fancied them up.
Add a little bit of Mod Podge to the box, put some cardstock on them, and voila, they are twenty times more cute.

So if you want to do this too, you just get your mod podge, paint it on the box and then put some paper that you have cut out and stick it on there, smooth it out so there are no bubbles and then do the same with all box sides. Once it was pretty dry I then repainted it with mod podge over the paper that I had put on, you don't have to, I just think it makes it have a cooler look and feel, it doesnt' look as much like paper to me. But if you do the extra layer on top, don't do it until the first coat under the paper is dry or else it will bubble up!

Here they all are before I put the words on and decorated them.
I think its most fun if you do the lids of the boxes a different paper than the boxes themselves, I have this great big Damask paper book and so I just used all the red and pink prints from that, so they all match.

I wasn't sure how to get cute letters on them, and heaven knows I can't paint them on there, so my lovely aunt let me borrow her cricuit! Can I tell you how much I love that thing. I am using it for everything and like cutting out a ton of letters for future crafts before I give it to her. Thanks for letting me using Bonnie!
So I cut these 'Be Mine' letters out, I thought about doing them different prints too, or at least different colors, like red and pink but I thought that might be too much. so I did them all white and then took a stamp pad to the edges.

Next, mod podge those on too.
See the white, its the mod podge.
Now that they are dry add some ribbon or something to jazz it up. I used ribbon and netting. I wish I had some cute red buttons, but I don't... :(


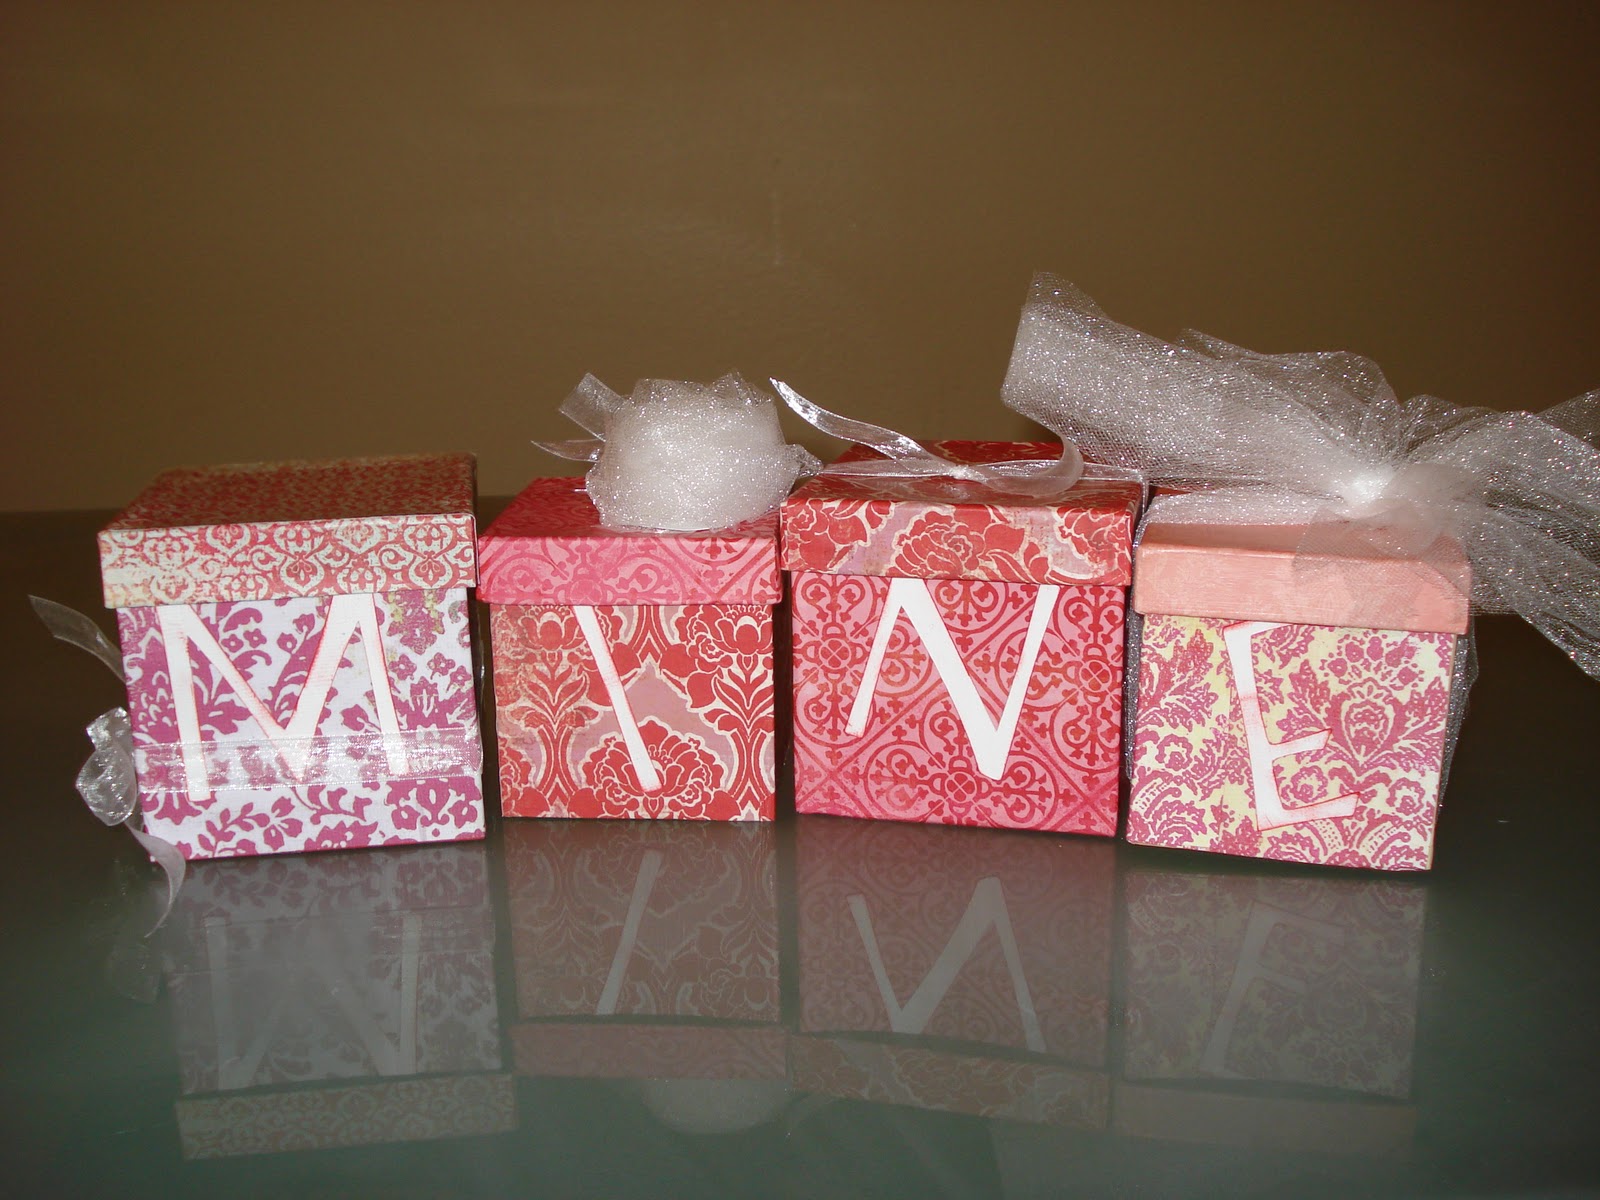


The E is my fav. I love the big bow on top that is made out of netting.
So in all, this project cost me $3.00
I already had all the other stuff on hand.
You can't beat that.
So like I said earlier, Craft-O-Maniac gave me the idea, She did these cool NOEL boxes for Christmas, and I was all for dollar store stuff! I looked at her blog after I finished these things and found she has done a ton more of these too, so go check that out if you want more inspiration. They are cute.


8 comments:
WAY cute!!
These turned out so cute!
Too too cute!!! Think I know where I'm going in the morning ;) Keep reading about the Dollar Tree (or similar), and I guess it's time I go :D Thank you!!! I'm a new follower as well :)
Very cute. I think I might have to make a trip to the dollar store today to see if they have boxes lik these. I think they might have had them but I couldn't think of this great idea.
These are so sweet! Following you from Creation Inspiration Sunday.
Hope you come by to say hi.
Cheers!
Jen
www.cariboobutterfly.com
Funny, I saw these boxes at the dollar store today and thought to myself, "Hmmmm, what could I do with these?" I didn't end up buying them, but now I might go back! Very cute!
Jennifer
Scissors & Spatulas
I think they turned out great! I shared this with my FB fans! Hope you don't mind...thanks for linking up!
Great idea! And inexpensive! I would love for you to link up to my Ten Buck Tuesday link party!
www.youngnester.blogspot.com
Post a Comment